


Kubota FAQs
The weight of a Kubota mini excavator varies depending on the model and specifications of the excavator. For example, the smallest Kubota mini excavator, the Kubota K008 series, has a compact operating weight of 2,160 lbs. In contrast to the largest Kubota excavator model, the Kubota KX080 series, which weighs in around 18,520 lbs. These operating weights may vary based on additional configurations such as cab specifications and excavator attachments.
A quick and easy way to check the weight of your excavator is to locate the data plate on the cab of your excavator. This plate will outline the key information about your machine, including the mini excavator weight, which is typically listed in kilograms (kg).
The width of a Kubota mini excavator varies significantly based on the machine make and model. Generally, Kubota mini excavators range from around 27.5 inches to about 86.6 inches (0.76 yards to 2.4 yards). For example, smaller models like the Kubota K008-3 have a width of approximately 27.5 inches (0.76 yards) when tracks are retracted, while larger models like the Kubota KX080 have a width of around 86.6 inches (2.4 yards).
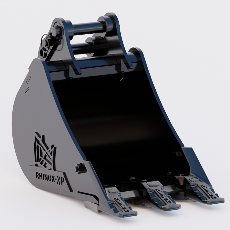
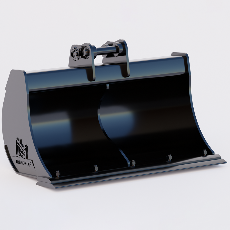
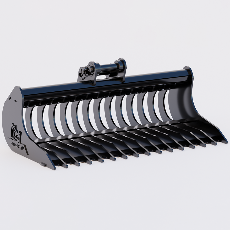
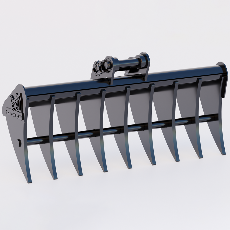
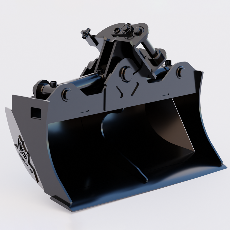
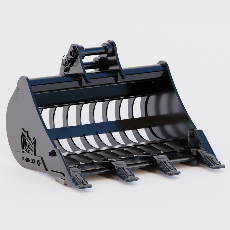
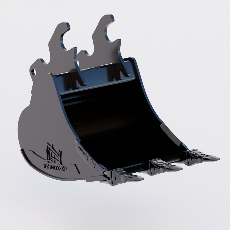
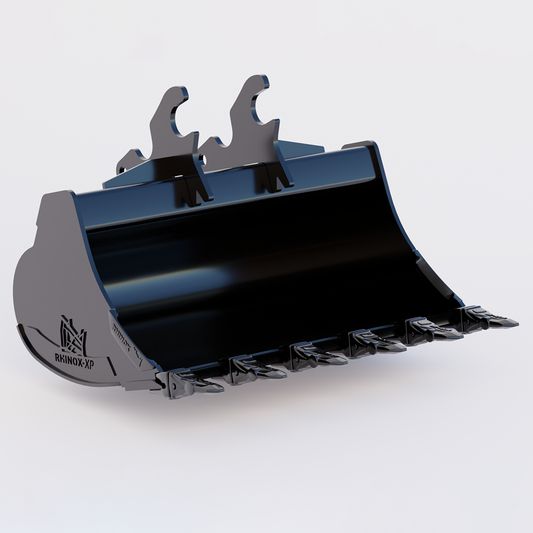
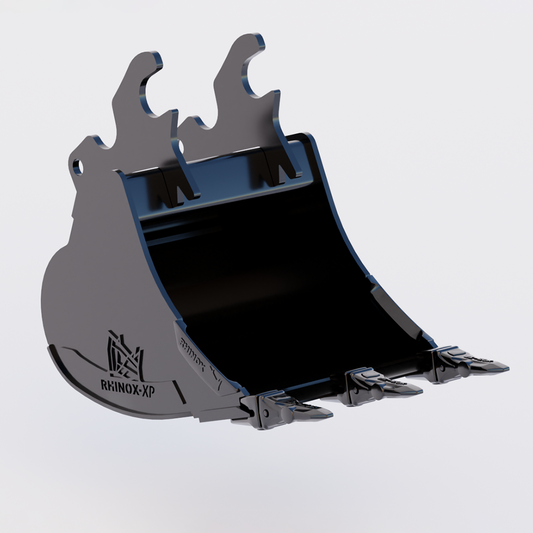
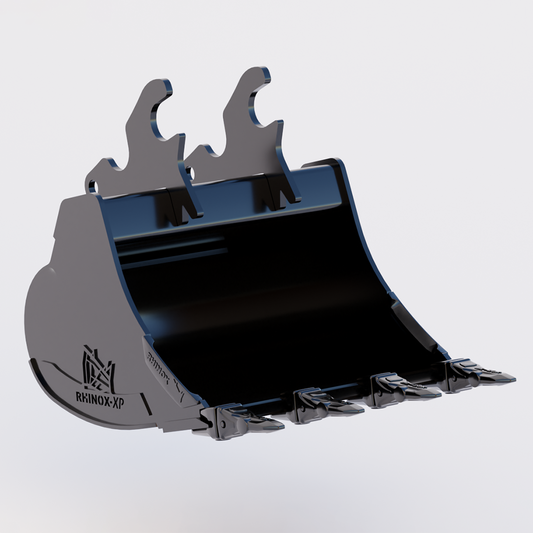
When it comes to the width of a Kubota bucket, it also varies depending on the style of bucket and the excavator model it's designed to fit. So, how wide is a Kubota bucket? Generally, Kubota excavator buckets come in widths ranging from 6 to 48 inches (0.16 to 1.3 yards), with narrower and wider variations available for grading buckets and micro trenching buckets. This variety ensures that you can select a bucket that best suits your specific project needs - whether that’s narrow trench digging for irrigation or handling larger bulk material loading.
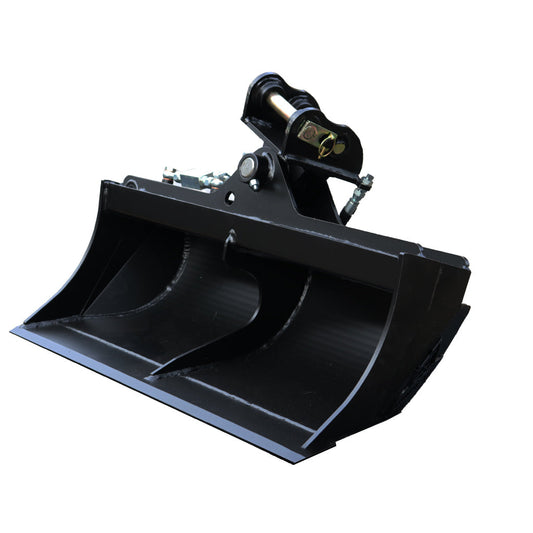
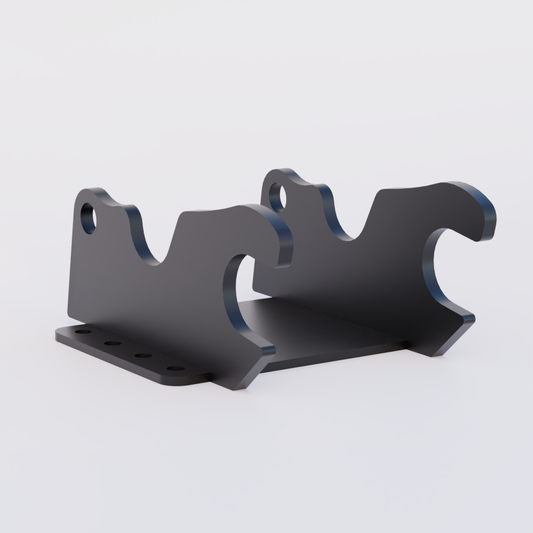
There are a couple of different ways to release and change a bucket on a Kubota excavator. This will vary depending on the attachment system that you have. Here, we'll explain the process for directly mounting a standard 2-pin attachment and using the Kubota quick attach system.
To change a standard Kubota mini excavator bucket with two removable pins, start by positioning the machine on a flat surface and lowering the boom until the bucket is near the ground. Turn off the engine and release any hydraulic pressure by moving the controls. Next, locate and remove the lynch pins or bolts securing the attachment pins. Once removed, manually pull out the attachment pins to release the bucket. Then, lift the boom upward to fully detach the bucket. To attach a new Kubota bucket, position the end of the excavator arm between the mounting holes, reinsert the attachment pins, and secure them in place.
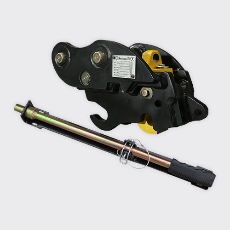
To change a bucket using the Kubota quick attach system, begin by positioning the machine on level ground, releasing hydraulic pressure by moving the controls lower the attachment so it’s about a foot off the ground. To remove the bucket, first, take out the attachment pin that secures it to the quick attach. Next, crowd the rear of the hitch away from the attachment to release it from between the hangers. Finally, remove the front pin by smoothly raising the excavator arm forward and upward, allowing the quick coupler to detach from the attachment.
When reattaching your Kubota bucket or attaching a new one, start by ensuring the attachment pin is removed from both the bucket and coupler. Lower the Kubota quick attach coupler into the U-shaped hooks of the attachment. Once the front pin of the coupler is positioned in the hooks, curl the back of the coupler into the attachment hangers, aligning the pin holes. Finally, insert the attachment pin manually to securely fasten the attachment to the quick attach coupler
Releasing hydraulic pressure in a Kubota excavator is essential before maintenance or when disconnecting hydraulic attachments. Here’s how you can safely do it:
- Position your Kubota excavator on a stable, level surface and lower your blade.
- Lower your boom, arm and bucket fully to the ground.
- Engage the parking brake, then turn off the engine.
- Raise the hydraulic shut-off lever to disengage the hydraulics and allow the system to sit for a few minutes so residual pressure can decrease naturally.
- Move the joystick controls in all directions several times to relieve any remaining hydraulic pressure.